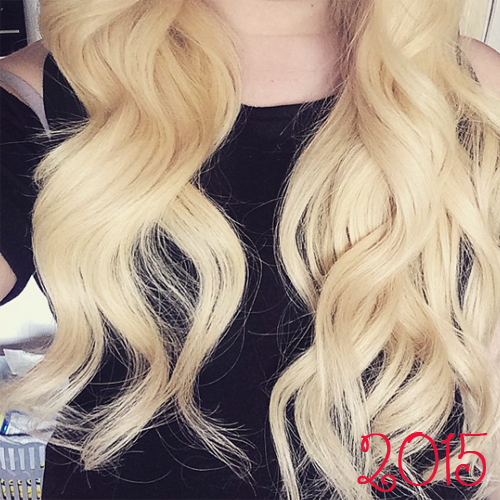
Okay so, it's not quite a year, it's been ten months. But it is about four years since I first decided to start bleaching my own hair at home. I began with thick, curly brown hair that reached just above my waist when I decided I wanted it "ombré", in quotation marks because it really wasn't ombre. It was medium brown with a line of demarkation to yellow bleach blonde tips. It didn't even start until near my chest and always looked odd when in a ponytail or a bun. This started in 2012, which was actually a time before at home ombré kits, balayage instagram trends and Guy Tang blessing us with video tutorials every week. I included a photo of how my at home ombré used to look in 2012, compared to earlier this year when actually none of my hair was bleached but I did the colour myself on hair extensions and found feathering, blending and using more than one tone of blonde.
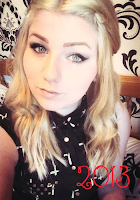
This started a number of problems for me, as about 6 months after I took that photo, I decided I wanted blonde all over. I went to my local drugstore, bought about 10 bottles and sachets of Jerome Russell 30 vol bleach, had no experience or done any research and began slopping it on my head. It didn't go as badly as I would have you believe, but the bleach blonde on the ends of my hair that I wanted all over, had to go. I had about 4-6 inches cut off my hair, had a fringe and layers cut back in to repair the damage I'd caused and my hair was still thick and full. I was a little upset that I'd had so much cut off, but it needed it and this is probably where my addiction to hair extensions began. I could walk into any beauty supply store in the world, pick up an 18" pack of 27/613 highlighted blonde and it would be perfect.

I'd discovered my mixture of dark and light blonde that everyone was complimenting me on simply wasn't enough and I wanted it lighter. No matter what I did, I always felt I could always get my hair lighter. My hair was becoming fried and I genuinely didn't notice, and if anyone said anything, I was in denial. I think the worst point was when I was gluing bits of hair extension in to my "fringe" that was about 1-2 inches of pure frazzled hair, picture inserted. I honestly didn't realise this wasn't a bad look. The turning point for me however, was coming home from my holiday in June 2015, about to start at a new store with new people who I refused to let lecture me on my fried hair. I ordered 3 bundles of dark hair, went to Savers and bought 10 boxes of hair dye and let my hairs journey back to health begin! The whole time I had damaged hair, I could barely put it all into a ponytail. I couldn't reach my fringe back into a hair tie to put it out my face and I relied solely on hair extensions, as in, literally addicted. I could not go out the house without them in to mask all the broken, sticking out hair. As bombshell as it looked, there was nothing to be proud of here, because every single part was extensions, my hair was so short you couldn't even see the underneath layers when it was down